Dealing with water damage can be a stressful experience, mainly when it affects your ceiling. Whether from a burst pipe, a leaking roof, or a plumbing issue, ceiling water damage requires immediate attention to prevent further structural damage and mold growth.
In this comprehensive guide, we will walk you through the necessary steps to effectively address ceiling water damage and restore your home to its pre-damage condition.
Understanding Ceiling Water Damage:
Before diving into the steps for remediation, it’s crucial to understand the potential causes and signs of ceiling water damage. Common causes include:
- Roof Leaks: Damaged or missing shingles, deteriorated flashing, or clogged gutters can lead to water infiltration through the roof, causing damage to ceilings below.
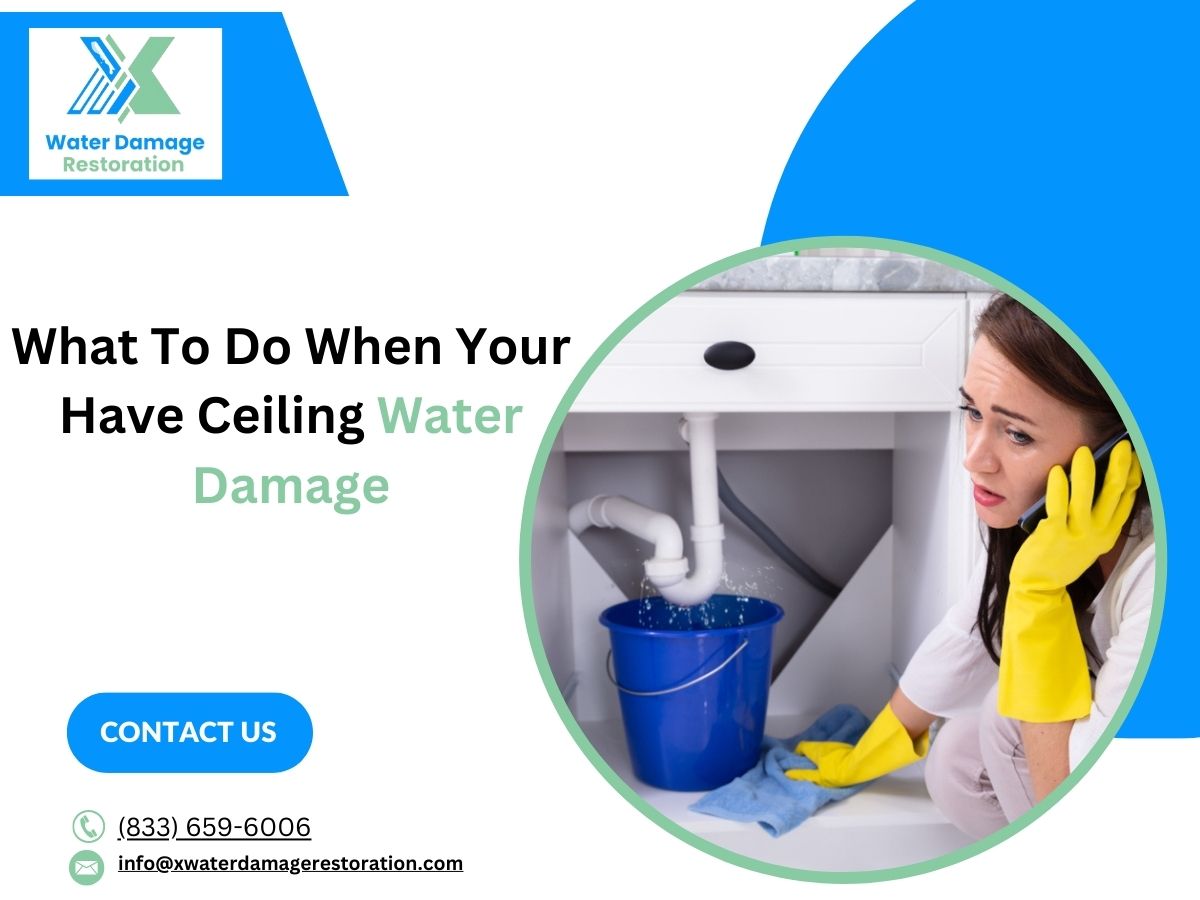
- Plumbing Issues: Burst pipes, leaking pipes, or faulty plumbing fixtures can result in water leaking into ceilings and causing damage over time.
- Appliance Malfunctions: Malfunctioning appliances such as water heaters, washing machines, or dishwashers can leak water onto ceilings, leading to damage.
Signs of ceiling water damage
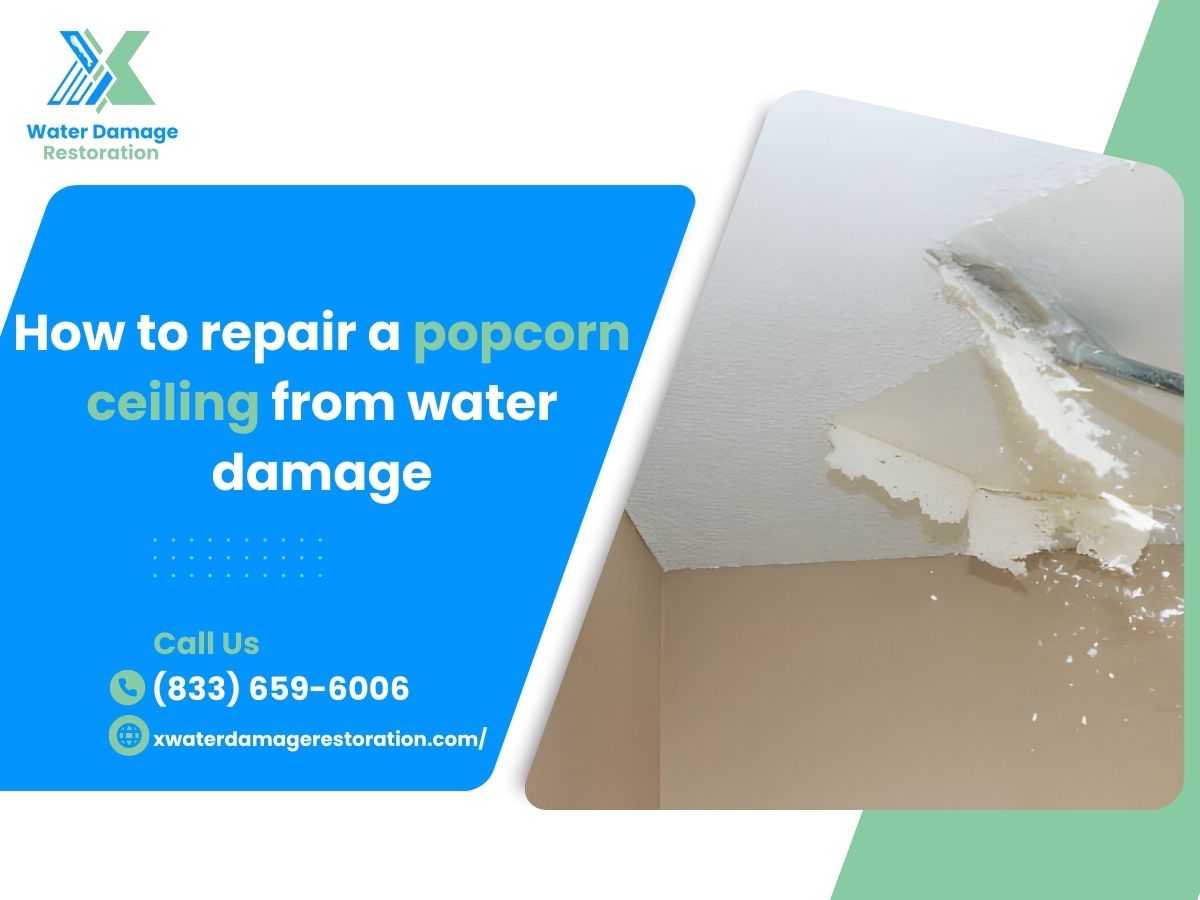
- Water Stains: Brown, yellow, or grey stains on the ceiling indicate water damage. These stains may appear in patches or streaks, indicating the path of water intrusion.
- Discoloration: Any discoloration or changes in the paint or texture of the ceiling could signify moisture absorption and potential water damage.
- Sagging or Warping: If your ceiling is sagging or warping in any area, it’s likely due to water weakening the structure.
- Peeling Paint or Wallpaper: Moisture can cause paint or wallpaper to peel away from the surface. Check for bubbling, flaking, or peeling paint or wallpaper.
- Musty Odors: Persistent musty or moldy smells from the ceiling area indicate the presence of moisture and potential mold growth.
- Visible Mold Growth: Mold thrives in damp environments, so if you see any mold patches or fungal growth on the ceiling, it’s a clear sign of water damage.
- Dripping Water:, if you notice water dripping from the ceiling, there’s a significant leak that needs immediate attention.
- Cracks or Bubbling: Water damage can cause the ceiling material to crack or bubble as it absorbs moisture and weakens.
- Soft Spots: Gently press on various ceiling areas to check for softness. Soft spots indicate water saturation and potential structural damage.
- Increased Energy Bills: A sudden increase in energy bills could be due to water leaking into the ceiling insulation, reducing its effectiveness.
Steps to Address Ceiling Water Damage:
- Identify and Stop the Source:
- Begin by identifying the source of the water leak and take immediate steps to stop it. This may involve shutting off the main water supply or temporarily patching the leak until professional repairs can be made.
- If the leak is due to a roof issue, consider placing tarps or buckets to collect water and prevent further damage until repairs can be conducted.
- Safety First:
- Before attempting any cleanup or restoration efforts, prioritize safety. Turn off electricity to affected areas to reduce the risk of electrical hazards, and wear protective gear such as gloves, goggles, and a mask to protect yourself from potential contaminants and mold spores.
- Remove Standing Water:
- Use a wet/dry vacuum or buckets to remove any standing water from the affected area. Prompt removal of water is essential to prevent further saturation of building materials and minimize the risk of mold growth.
- Dry Out the Area:
- Proper drying is crucial to prevent mold growth and further damage to ceilings and surrounding structures. Use fans, dehumidifiers, and open windows to promote air circulation and accelerate the drying process.
- Consider renting professional-grade drying equipment for large or severe water damage incidents.
- Assess and Document Damage:
- Thoroughly inspect the affected ceiling for signs of structural damage, such as sagging or compromised integrity. Document the damage through photographs or videos for insurance purposes.
- Repair and Restoration:
- Depending on the extent of the damage, repairs may involve patching or replacing damaged ceiling materials, such as drywall or plaster.
- Work with a reputable water damage restoration company, like X Water Damage Restoration, to ensure proper remediation and restoration of your home.
FAQs:
Q1: Can I repair ceiling water damage myself?
A1: While minor water damage may be manageable for DIY enthusiasts, it’s advisable to seek professional assistance for significant or extensive damage to ensure thorough remediation and prevent future issues such as mold growth.
Q2: How long does it take to repair ceiling water damage?
A2: The duration of repairs depends on the extent of the damage and the drying process. Minor damage may be repaired within a few days, while more severe cases may take longer, especially if structural repairs are required.
Q3: Will my homeowner’s insurance cover ceiling water damage?
A3: Most homeowner’s insurance policies cover water damage caused by sudden and accidental events, such as burst pipes or roof leaks. However, coverage may vary, so it’s essential to review your policy and consult with your insurance provider.
Conclusion:
Ceiling water damage can be a daunting challenge for homeowners, but with prompt action and the assistance of professionals like X Water Damage Restoration, you can mitigate the damage and restore your home to its former condition.
By following the steps outlined in this guide and prioritizing safety, you can effectively address ceiling water damage and protect your home and family from further harm. Remember, when in doubt, don’t hesitate to seek professional help to ensure thorough remediation and peace of mind.